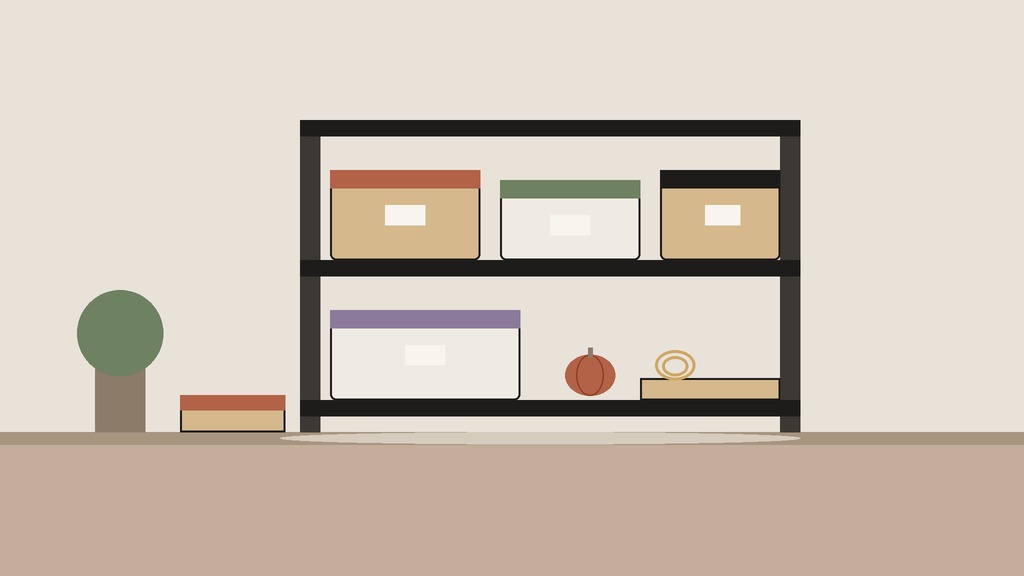
Halloween decor goes up in a happy burst and comes down in a grumpy heap. By the first week of November, the skeleton is in a laundry basket, the lights are in a knot, and the plastic pumpkin is wedged behind the washing machine. Next October you will find half of it, buy a replacement for the rest, and wonder where it all went.
A little structure at pack-away time fixes this for good. Storing Halloween decorations well comes down to a minimalist checklist: one bin, one pass, and a list that makes next year’s setup take half the time.
Pick your pack-away day now
The best time to pack away Halloween is the day or two after it ends. Everything is out, nothing has gone missing yet, and the mess is still fresh enough to motivate you. Daylight saving time ends the morning of Sunday, November 1 this year, so you will have a spare hour. Many people use it for exactly this job.
Block 90 minutes for a typical home. That is enough for a full sort, pack and label. If you decorated heavily, plan two sessions of an hour each, one for the sort and one for the pack.
The one-bin rule
Here is the idea that keeps the whole system minimal: all your Halloween decor must fit in one bin, or one bin per zone at most. A single 60 litre bin is a good starting size. If everything fits, you are done. If it does not, you have more than you use, and the sort is where you decide what stays.
A fixed container is the real boundary. It is easier to say “it has to fit” than to argue with yourself about whether the ninth pumpkin deserves a place.
The seven-step minimalist checklist
- Take everything out of the house in one pass. Gather every piece into one pile in the living room or garage: porch, windows, table, shelves, party extras. You cannot judge what you own until you see it together.
- Throw out the obvious. Anything broken, faded, torn or sticky goes in the garbage or recycling. Dead candles, cracked plastic, cobwebs that have lost their stretch, a banner missing a letter.
- Ask three questions about each remaining piece. Did we use it this year? Do we love it? Will it still look good next year? Two or more yeses and it stays. A piece you forgot you owned is a donate pile candidate.
- Split the keepers into three groups: the items you could not do without, a few nice extras, and the “maybe” pile. Put the maybe pile in a small box marked with the date. If you have not opened it by next September, donate it unopened.
- Clean and dry everything. Wipe pumpkins and plastic pieces, shake out fabric, and let candles and wreaths dry completely. Storing anything damp is how you get mould and a basement smell in July.
- Remove batteries and bundle cords. Take batteries out of every light, candle and gadget and put them in a labelled zip bag. Wrap light strings around a piece of cardboard and tape the end. Tangles are the number one reason people give up on decorating.
- Pack by zone, top to bottom. Heavy and sturdy pieces at the base, fragile ones on top. Use paper or fabric from the house instead of buying packing material. Close the lid, label it, and stop.
What to throw away, and what to donate
Be honest with the donate pile. Decor that is chipped or sticky is not a donation, it is a problem you are handing to someone else. Pieces in good condition can go to a thrift store, a school craft room or a community group. Extra costume pieces often have a second life with a neighbour’s kids or a school drama club.
Real pumpkins, gourds and straw go to the compost bin or the green bin, depending on your municipality’s rules. Do not store them.
A 20-minute version for a busy week
Not everyone has 90 minutes the week after Halloween. If you only have one evening, do this shorter pass and finish the rest later:
- Put on a timer for 20 minutes and gather everything into one spot.
- Throw out the broken and the sticky.
- Put everything else in the bin, lights and all, with the lid closed and a sticky note on top that says “sort in January”.
It is not perfect, but it keeps decor from drifting around the house for weeks. When you do the proper sort in January, it is a simple job because it is all in one container.
What to keep out in November
Not everything has to go away on November 1. Pieces that work as general fall decor can stay: uncarved pumpkins and gourds, branches, dark candlesticks, warm string lights, a plain black wreath. Anything that says “Halloween” in plain letters, such as a banner, a skeleton or a bat, goes in the bin. This split also halves your packing job, and it makes the house feel seasonal instead of bare. If the front door is where the decor lives, our fall entryway guide shows a Less and a More way to keep it seasonal.
Choosing containers
- Clear bins with lids let you see what is inside, which helps when you are looking for the porch lights in October. Keep them one size so they stack.
- Flat boxes are ideal for paper decorations, banners and window bats. A single flat storage box under a bed holds a lot.
- Old shoeboxes and tissue work for fragile items. Reuse what you have.
- Avoid overstuffing. A bin that bulges at the lid breaks things and is annoying to lift.
If your space is a cold garage or an unheated shed, be careful with anything made of wax, resin or vinyl. Cold can make them brittle, and heat in summer can make them soft or sticky. A closet shelf or under a bed is a better home for the delicate pieces.
Label for the October you
Write the contents on the outside of every bin, along with the year. Tape a short list to the inside of the lid with three things: what is in the box, what you would add next year if you could, and one thing to skip. Next October you will be glad someone planned for you.
If you like keeping household systems in one place, the Home Command Center Weekly Reset from Green Velvet is a printable that keeps the week, the chores and the household paperwork together, which also makes a handy home for a short storage list.
Less or More: storage at a glance
| Less | More | |
|---|---|---|
| Containers | One bin, plus one flat box | A bin per zone, labelled by room |
| Goal | Everything fits, nothing extra | Everything protected and easy to find |
| Time | About 90 minutes | Two sessions, sometimes three |
| Inventory | A single list inside the lid | A full list or photo record |
| Watch out for | Throwing away something you actually use | Bins multiplying faster than the decor |
Stop rule and payoff
For Less, stop at one bin. If the lid will not close, something must go, and it is almost always the item you cannot name a reason for.
For More, stop at a number of bins you can carry in one trip. When you need a hand truck to find the pumpkin lights, the collection has become the job.
The payoff is a clean start next October. Instead of an afternoon of untangling and shopping, you open one bin, plug in the lights, and the house is ready by dinner.
Where to go next
If this was the right kind of reset, our declutter checklist before the holidays takes the same idea to the rest of the house. If you plan to keep some Halloween pieces on display into November, the Halloween to fall decor swap shows how to turn what you already own into autumn decor. For more systems that make rooms easy to run, browse the Minimalism hub and the minimalist decor ideas that make packing up quick.
Free checklist: Less or More?
Not sure which lane fits your room or closet? Our free 2-page printable walks you through a one-hour room reset and a weekend closet sort, with a Less column, a More column and a stop rule for each. We will email it to you, free.


Leave a Reply