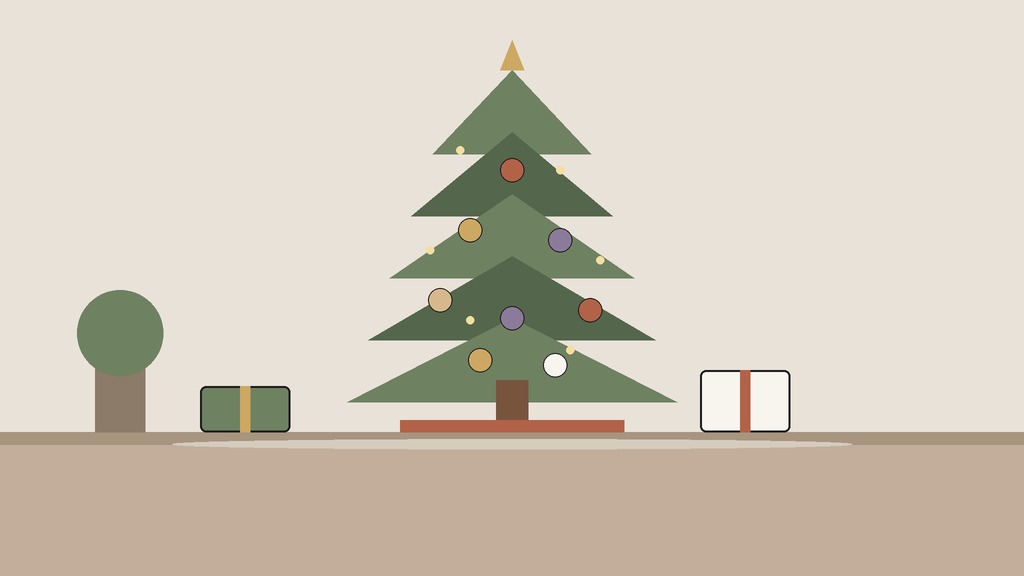
A Christmas tree with everything on it looks full. A Christmas tree with a plan looks designed. The difference is not the number of ornaments, it is whether the pieces repeat, whether the sizes vary and whether the tree has a theme strong enough to hold a crowd. These Christmas tree theme ideas are for people who like a layered, colourful tree and want it to look intentional.
Every tree here is built from a five-layer method, seven themes with colour and material lists and the safety checks that every tree needs. All of it works for a real or an artificial tree.
The five layers
A full tree is built in a fixed order. Each layer has a job, and each is added once.
- Lights. The base layer, put on first and tested before anything else goes on.
- Ribbon or garland. Long elements that wind around the tree and add movement.
- Base ornaments. A large number of one or two simple pieces in the main colour, spread evenly. They fill space and set the palette.
- Statement ornaments. Fewer, larger pieces with character: a glass bird, a big star, a pair of wooden figures. Place them where the eye will find them.
- Fillers and toppers. Picks, sprigs, berries, dried slices and the topper, which finish the shape.
A minimal tree uses three of these, usually lights, base ornaments and a topper. A maximal tree uses all five. The Christmas Decor Planner described below calls this the 3-layer and 5-layer approach.
Choose the theme before the ornaments
A theme is a short sentence. Write it down: “forest at dusk” or “old-fashioned candy shop”. If you cannot say it in one line, the tree may be trying to be two.
Seven themes that work
1. Woodland
- Colours: forest green, brown, cream, a touch of rust.
- Materials: wooden beads, pinecones, felt animals, birch slices, plaid ribbon.
- Lights: warm white.
- Topper: a wooden star or a bundle of twigs.
2. Jewel tones
- Colours: deep plum, emerald, sapphire and gold.
- Materials: velvet ribbon, glass ornaments, beaded garland.
- Lights: warm white, to bring out the colour.
- Topper: a gold star or a large velvet bow.
3. Vintage
- Colours: red, soft green, silver and cream.
- Materials: glass baubles, paper chains, tinsel strands used sparingly, lace ribbon.
- Lights: large bulbs in warm white or mixed colours.
- Topper: a glass finial.
4. Gold and burgundy
- Colours: burgundy, gold, deep green.
- Materials: satin ribbon, glass balls, dried pomegranate slices, faux berries.
- Lights: warm white.
- Topper: a gold bow or a burgundy velvet bow.
5. Natural and dried
- Colours: cream, tan, terracotta and sage.
- Materials: dried orange slices, cinnamon sticks tied with twine, paper stars, dried grass, wooden beads.
- Lights: warm white, low brightness.
- Topper: a paper star or a bunch of dried grass.
6. Candy shop
- Colours: red, white, pink and mint.
- Materials: striped ribbon, large paper lollipops, glass ornaments, bows.
- Lights: multicolour or warm white.
- Topper: a big bow or a large star.
- Note: use ornaments that look like candy, and keep real candy off the tree if there are pets or young children.
7. Winter forest
- Colours: white, silver, icy blue and deep green.
- Materials: frosted branches, silver beads, glass icicles, felt snowflakes.
- Lights: cool white or warm white, but not mixed.
- Topper: a silver star.
How to place each layer
The layers are easier than they sound if you follow this order.
- Place the tree away from heat sources, doorways and traffic, with the stand stable and the trunk level. Fluff the branches of an artificial tree.
- Lights first. Plug them in and check every strand before hanging. Work from the trunk outward along each branch, not just around the outside, for depth.
- Add the ribbon. Start at the top and tuck it in and out of the branches in loose swags, or run it vertically from top to bottom.
- Hang the base ornaments, starting deep inside the tree and working outward. Put larger pieces lower and smaller ones higher.
- Place the statement ornaments at eye level and in places where the light hits them. Spread them evenly rather than clumping them.
- Fill the gaps with picks, sprigs and small ornaments.
- Add the topper and the skirt.
- Step back, squint, and move anything that stands out in the wrong way.
Count your ornaments
You do not need a large number, but you do need a plan.
- Measure the tree. A narrow tree takes fewer ornaments than a wide one.
- Decide your gaps. Leave space between pieces for the lights to show. A tree with no gaps looks heavy.
- Buy or borrow the base ornaments in one go, so that the colours match.
- Add the statement pieces only when the base is done.
If you are not sure how many, hang them until the tree looks nearly full, step back and decide whether it needs more.
Safety checks for every tree
Trees combine heat, water, wires and decorations, so a few rules apply.
- Real trees: buy a fresh one, cut a little off the base before putting it in the stand and keep the stand filled with water every day. Keep the tree away from fireplaces, radiators, heating vents and candles.
- Artificial trees: check the label for a flame-retardant rating where one is available, and keep it away from heat as well.
- Lights: use lights rated for indoor use, and check each strand for frayed wires, cracked sockets or broken bulbs before hanging. Follow the manufacturer’s instructions for how many strands can be connected and for using power strips.
- Turn the lights off when you leave the house or go to bed, and follow the manufacturer’s instructions for timers.
- Never use real candles on or near a tree.
- Children and pets: keep breakable ornaments and glass higher up. Remove small ornaments, tinsel and ribbon the animal could swallow. For children under four, avoid small or button-sized ornaments and any pieces that can break into sharp bits, since they are choking and cut hazards.
- Stability: a stand that is too small can tip. If you have children or pets, anchor the tree to a wall or ceiling hook, and check your lease first.
- Ladders: use a stable step stool, with someone to hold it.
When to put it up
There is no single right date, and it is a personal choice. A real tree may last longer if it goes up later and is watered well, while an artificial tree can go up any time. Our guide to early Christmas decor ideas covers how to decide when to start, and how to handle the overlap with fall.
Using colour without chaos
A colourful tree needs rules.
- Choose a few main colours plus a metal such as gold or silver.
- Repeat each colour in several places around the tree.
- Vary shape and finish: glossy, matte, glittered and textured.
- Let one colour lead. If you want rainbow, keep the lights multicoloured and the ornaments within a narrower range.
- Use the fall palette you already like. Our fall colour palette for the living room shows how to balance rust, olive and plum, and the same logic applies to red, green and gold.
Less or More: the tree plan
| Less | More | |
|---|---|---|
| Layers | Three | Five |
| Colours | Two | A few, plus a metal |
| Ornaments | One type, plus a topper | Base, statement and filler pieces |
| Time | An hour | An afternoon |
| Watch out for | A bare tree | A tree with no gaps |
Plan the tree on paper
If you want to plan the tree before you buy anything, the Christmas Decor Planner: Minimal or Maximal from Green Velvet has a tree plan page with 3 layers for minimal and 5 for maximal, plus ornament counts and gaps, a palette picker and a decorating timeline.
The finish line
Check the tree against three tests: its theme fits in one sentence, every layer is present and nothing hangs low enough for a pet to reach. If layering is your style, the Maximalism hub has more ways to build a room one layer at a time, and our maximalist Halloween decor ideas use the same order with a darker palette.
Free checklist: Less or More?
Not sure which lane fits your room or closet? Our free 2-page printable walks you through a one-hour room reset and a weekend closet sort, with a Less column, a More column and a stop rule for each. We will email it to you, free.


Leave a Reply