A small person in your house has just announced, with total confidence, that they want to be something you do not own a costume for. The shop shelves are half empty, the shipping window has closed and the idea of a trip to a crowded store sounds worse than the problem.
The answer, almost always, is already in the house. Here are easy homemade kids Halloween costumes from things you already own, in a Less version that takes ten minutes and a More version for kids who want to build something, with a plan that works for a school party, a neighbourhood walk or a parade.
How to start: let the child choose the idea
A homemade costume that a child chose is worn happily. One that a parent chose is worn until the first itch. Ask two quick questions and listen.
- “What do you want to be?” Most children land on a short list: an animal, a job, a monster or something from a story.
- “Is it for walking, dancing, climbing or sitting?” This tells you how much freedom the costume needs.
Then do a quick closet raid together. Lay out everything black, everything with stripes, everything fuzzy and anything with a hood. A child who sees the pile will often change the idea to match what is there, and that is a perfectly good outcome.
Ten-minute costumes: the Less version
The rule for a simple costume is one recognizable thing, with everything else comfortable and plain. Here are ideas that rely on clothes your kids already have.
- Cat or dog. Black or brown leggings and a long-sleeved top, a headband with paper ears and a tail made from a scarf or a knotted sock tucked into a waistband. Add whiskers with an eyeliner pencil or washable face paint.
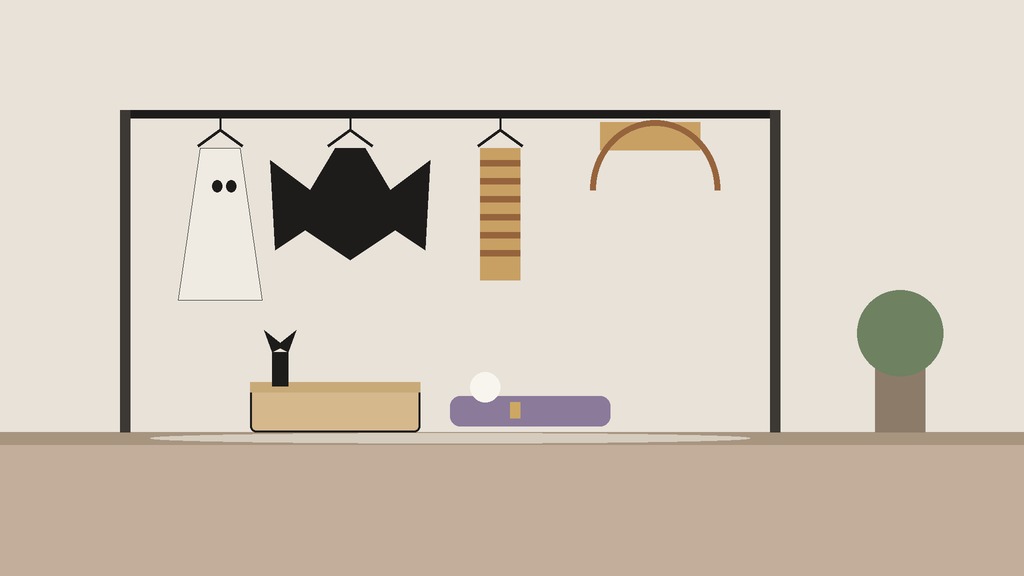
- Ghost. A white top and pants, with a white pillowcase cut into a poncho shape, or a white t-shirt over a long-sleeved one. Skip a full sheet, which can trip small feet and block sight.
- Scarecrow. Jeans, a plaid shirt, a hat and a few patches of fabric pinned or stitched on. A bit of raffia or dry grass in the sleeves finishes it.
- Bat. Black clothes and a pair of wings cut from cardboard or felt and fastened with elastic. Ears on a headband complete it.
- Builder or doctor or chef. The costume is the outfit plus one tool, such as a toy hammer, a stethoscope or a wooden spoon. Everything else is regular clothes.
- Astronaut. A white or grey hoodie, silver foil or tape on the sleeves, and a few badges cut from cardboard. Skip anything worn over the face or head that could block breathing or sight.
- Lion or tiger. Orange or yellow top and bottoms, brown wool or yarn pieces for a mane, and a painted nose. Stripes are drawn on with face paint or sewn on from felt strips.
- Witch or wizard. A long dark cloak (a bath towel or blanket with a tie works), a hat made from cardstock, and a short cardboard wand or a rolled-paper staff.
Build-a-character costumes: the More version
For a child who loves the making, treat the costume as a project. Plan a few evenings and keep the design simple enough to finish.
- Plan it on paper. Let your child draw the costume. Circle the parts you can make from things you have, and cross out the rest.
- Choose a base. A hooded sweatshirt, a jumpsuit or a set of pajamas gives a body for the costume to grow from. Use clothes that fit comfortably and that your child already likes to wear.
- Add three details. Choose the three things that make the character: for a robot, a cardboard chest panel, a few buttons made from jar lids and silver arm covers made from foil.
- Use safe fasteners. Elastic, hook-and-loop tape and safety pins are better than glue on clothing that has to be worn on the child’s body. Do not use pins near the face.
- Make it for the weather. A costume that does not fit over a warm layer is a costume that gets covered by a snowsuit.
Staying warm in a Canadian October
The costume has to work in the weather outside, and for most families that means cold fingers and wet sidewalks.
- Build the costume over thermals. A thin warm layer in a matching colour disappears under a costume. Black for cats and bats, white for ghosts.
- Plan for a coat. If a coat is unavoidable, make it part of the character. A brown coat for a bear, a yellow one for a duck, a dark one for a witch.
- Hats, mittens and boots. Add them to the costume on purpose, such as animal ears on a toque or mittens with paws drawn on.
- Keep shoes comfortable. Good soles and dry socks win over matching boots every time.
- Use face paint, not a mask, where you can. Masks fog up and restrict vision on a dark street.
Safety checks for kids’ costumes
A few quick checks can prevent trouble at the door and on the sidewalk.
- Visibility. Add reflective tape to the front and back of a dark costume, and give each child a small light, glow stick or flashlight. If you are also lighting your own step, our Halloween porch lighting ideas show how to make the path visible to small walkers.
- Length. Hems should be above the ankle, and capes should be short enough that they cannot catch on stairs or in doors.
- Vision and hearing. Nothing should block the eyes, nose or ears, especially near roads.
- Masks and paint. Test face paint on a small patch of skin first, and use products made for skin.
- Sticks and props. Props should be soft or short, and not sharp.
- Name and number. Put a small slip of paper with a parent’s phone number in a pocket for the youngest children.
Fix it with what you have
Some quick substitutions for the supplies you may think you need:
| You need | Use instead |
|---|---|
| Fabric for a cape | A bath towel, a tablecloth, a pillowcase or an old curtain |
| Felt | Old t-shirts cut into shapes |
| A hat | Cardstock or felt, as long as the child can see clearly |
| Ears or horns | A headband and shapes cut from cardboard or cereal boxes |
| Wings | Cardboard or felt on elastic, or a stretch of tulle |
| A tail | A long scarf, a stuffed sock or a roll of yarn |
Less or More: the choice at a glance
| Less | More | |
|---|---|---|
| Time | Ten to thirty minutes | A few evenings |
| Planning | A closet raid | A sketch and a short list of parts |
| Materials | Clothes you own, one prop | Clothes plus cardboard, felt and paint |
| Best for | Younger kids, last-minute, school parties | Kids who love making things |
| Watch out for | A costume that is just clothes | A costume the child cannot wear for four hours |
Where to stop
For Less, stop as soon as a stranger could guess the character from across the street. For More, stop when the costume is comfortable, warm and finished, even if it is not perfect. A child who wears something they helped make will describe it to every house on the street.
If the plan also includes walking the neighbourhood, the Trick-or-Treat Night Prep Kit from Green Velvet has gear and house checks and pocket cards for the family heading out, which pairs well with a costume that is already sorted.
For more on keeping the season simple, see the Less or More? hub. If you are a grown-up who needs a costume too, our guide to easy Halloween costumes from your closet covers adults, and our post on no carve pumpkin decorating is an easy craft to do with the kids.
Free checklist: Less or More?
Not sure which lane fits your room or closet? Our free 2-page printable walks you through a one-hour room reset and a weekend closet sort, with a Less column, a More column and a stop rule for each. We will email it to you, free.


Leave a Reply