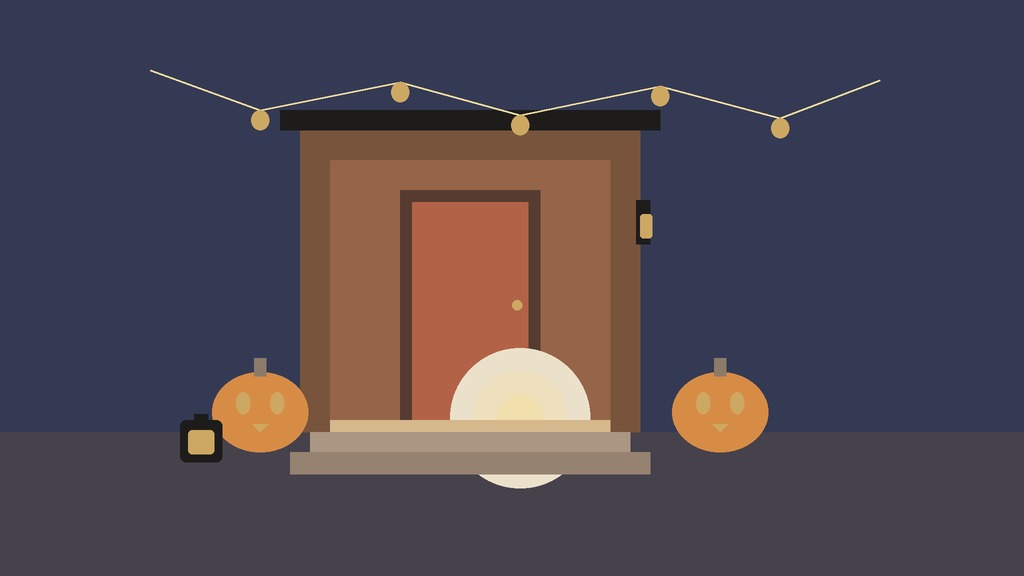
Your porch is where Halloween happens for everyone who is not invited inside. A trick-or-treater decides quickly whether your house is worth the walk up the path, and lighting does most of that deciding. Good porch light shows kids where to step, makes the decor look intentional and tells the street that the door is open.
This guide to Halloween porch lighting ideas covers two ways to do it: a simple glow that takes ten minutes, and a full haunt for people who want the street to talk about the house. Both come with the practical side that gets forgotten, like wet weather, cords and safety.
Start with the job, not the look
Porch lighting on Halloween has three jobs, and the order matters.
- Safety. Steps, the walkway and the door handle need enough light that nobody trips. A porch that is too moody to see the first step is not a good porch.
- Welcome. Kids and parents look for a lit door. A warm, steady light reads as “yes, we have candy”.
- Atmosphere. Colour, shadow and effects come last, once the first two are solid.
Do the first two with the light you already have, then decide how far to go with the third.
The Less version: a simple glow
A simple porch glow uses three layers and no fuss. It works for any front step, apartment balcony or townhouse stoop.
- Keep the main porch light on, with a warm bulb. If your fixture has a cool white bulb, swap it for a warm one a few days ahead. Warm light flatters pumpkins and faces.
- Add a pair of lanterns or jars. Battery candles in glass jars or lanterns on either side of the door, or one on each step, give a soft pool of light without a flame.
- Put one thing lit from below. A few pumpkins with a flameless light inside, or a single bare branch lit by a small spotlight, gives a shadow on the wall. That shadow is the spooky part.
Total setup is about ten minutes, and everything comes in with one trip at the end of the night. If a quick clean look suits you, our minimalist Halloween decor ideas show how to pair the glow with one or two simple pieces.
The More version: a full haunt
If you want to go big, light the porch like a stage. Think in zones, from the street to the door.
- The path: a line of lanterns or flameless candles along both sides of the walkway, spaced a stride apart, leading the eye to the door.
- The mid-ground: pumpkins at different heights on steps and a bench, each with a light inside, and a bare tree or a few branches lit from below.
- The door frame: string lights wrapped around the post or hung in a loose curtain from the eave, in warm white or a deep orange.
- A colour accent: one wash of purple, green or red from a single floodlight or bulb on the best feature, such as a tree or a wall. One colour is dramatic. Three colours turn the porch into a party bus.
- A moving or shifting element: a flickering light inside a lantern or a string of lights on a slow flicker setting gives movement without noise.
The rule of a full haunt: light the interesting things, leave the in-between dark. Pools of light and patches of shadow are what create the mood, and a flat wash of bright light kills it.
Lighting safely outside
Outdoor lighting has real risks, and most of them are easy to manage.
- Use lights and cords rated for outdoor use, as shown on the packaging. Indoor extension cords and lights are not designed for rain and wet snow.
- Prefer battery or low-voltage lights where you can. They are simple, cool to the touch and have no cords to trip over.
- Avoid real candles on the porch and path. Costumes, leaf piles and paper decor catch fire easily, and kids do not always look where they step. Flameless candles give nearly the same look.
- Do not overload a plug. Follow the strand limits on the package before you plug them all into one outlet.
- Keep cords off the path. Tape them down along the edge or run them behind a planter.
- Use an outdoor-rated timer if it will be outside, so everything switches on at dusk and off at bedtime, and nobody has to remember on a cold night.
Canadian October weather
By the end of October, you may be lighting a porch in rain, wind, fog or the first wet snow. A few adjustments help.
- Check that every light, battery pack and plug is rated for outdoor use, and keep plugs off the ground or in a covered spot.
- Fresh batteries last longer in mild weather. In near-freezing temperatures they drain faster, so put in new ones on the day.
- Pumpkins with lights inside last longer if you use battery lights, since a real flame speeds up rot and is a hazard.
- If rain is forecast, move lighter pieces, paper and anything electric under the roof overhang.
- Wipe lanterns dry before you light them.
A simple test before dark
Do this once, about thirty minutes before sunset on the day, and you will avoid the usual mistakes.
- Walk the path from the sidewalk to the door and look at every step. Is anything unlit, wet or uneven? Add a light or fix it.
- Stand at the end of the driveway with your lights on. Can you see the door? Does it feel inviting, or is glare in your eyes? Move or shade any bright bulb pointing at the street.
- Look at the shadows. A pumpkin lit from inside should have a soft glow. A branch lit from below should cast a shape on the wall. If you see nothing, move the light closer.
- Check the plugs and batteries. Anything not working now will not start working at 6 p.m. with a line of kids on the path.
- Test the timer and set it to turn on a little before dusk, and off at your cut-off time.
What to avoid
A few lighting ideas look good in photos and cause trouble in real life.
- Strobes and sudden flashes. They can startle small children, bother neighbours and cause problems for some people with light sensitivities.
- Blinding floodlights. Anything pointed at the street makes it harder for drivers and kids in dark costumes to see.
- Fog or smoke machines near stairs. Fog hides steps, and a child in a mask is already seeing less than usual.
- Dangling lights at head height along the walkway. Kids in tall hats and masks catch them, and an unexpected tug on a string of lights can pull down an entire display.
Less or More: your porch lighting plan
| Less | More | |
|---|---|---|
| Layers | Porch light, two lanterns, one lit pumpkin | Path lights, lit pumpkins, door frame, one colour accent |
| Setup time | About ten minutes | A couple of hours |
| Power | Mostly battery | Battery plus one outdoor-rated plug-in |
| Cost | Close to nothing if you own jars and candles | Moderate, spread across the week |
| Watch out for | Looking too plain | Too bright, too many colours, tripping hazards |
A good place to stop
For Less, stop at three light sources. If the porch is safe, warm and a little shadowy, it is done.
For More, stop when the colour accent is the only colour and every light has a reason to be there. If you find yourself adding a second floodlight, ask what it shows that the first does not.
The payoff in both versions is the same: a house that looks welcoming from the road, a safe path to the door and a few shadows that make kids slow down. A porch is also a good place to learn how little light you need. Most people use too much.
Plan the night itself
Lighting is half of the door. The other half is the bowl and the going-out plan. For that, the Trick-or-Treat Night Prep Kit from Green Velvet pairs gear and house checks for the family heading out with a door candy planner and door-bowl notes.
For more ideas about choosing how much to do, see the Less or More? hub. If your home is a rental, our Halloween apartment decor ideas cover renter-friendly options, and our guide to storing Halloween decorations will help you put the lights away neatly on November 1.
Free checklist: Less or More?
Not sure which lane fits your room or closet? Our free 2-page printable walks you through a one-hour room reset and a weekend closet sort, with a Less column, a More column and a stop rule for each. We will email it to you, free.


Leave a Reply